Product Description
The HF16.5.8-T Plain Tubular Steel newel post is 1-3/16" X 48" and weights 4.8 lbs.
Shipped one to a box. Item is available in Satin Black only.
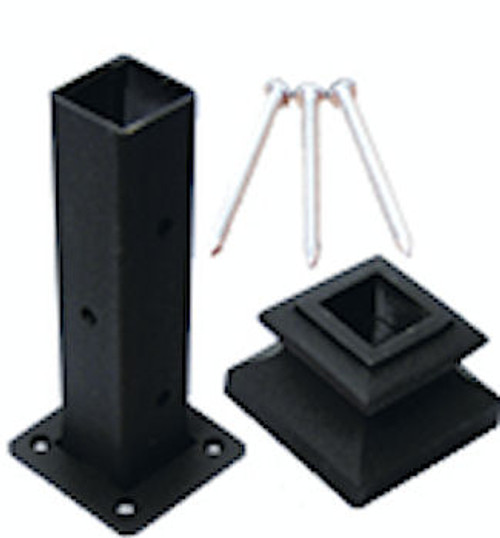
Recommended attachment kit is the HF16.2.3 with matching finish selected at Checkout, or the HF16.3.72 Modern Disk Attachment Kit.
How to Install Iron Newel Posts
This guide will help you understand how to install a wrought iron newel post using our iron newel mounting kit.
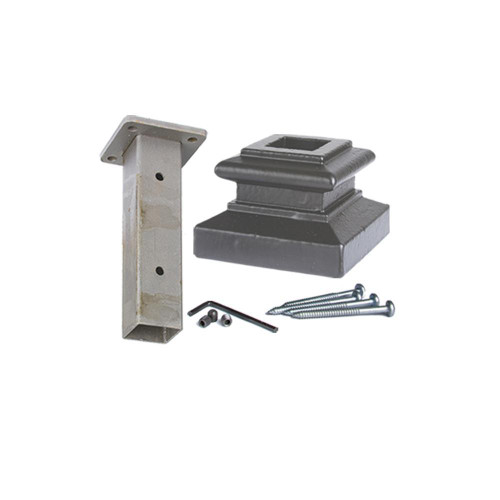
Our kit contains a bracket, bolts, set screws and the shoe to cover the bracket. However, we recommend you use a can of epoxy such as our EPC-7 epoxy can, as the set screws on the kit might not be enough to ensure permanent installation.
Tools Required
- Epoxy
- Drill & Drill Bits
Download a PDF of this guide Here.
Let’s begin!
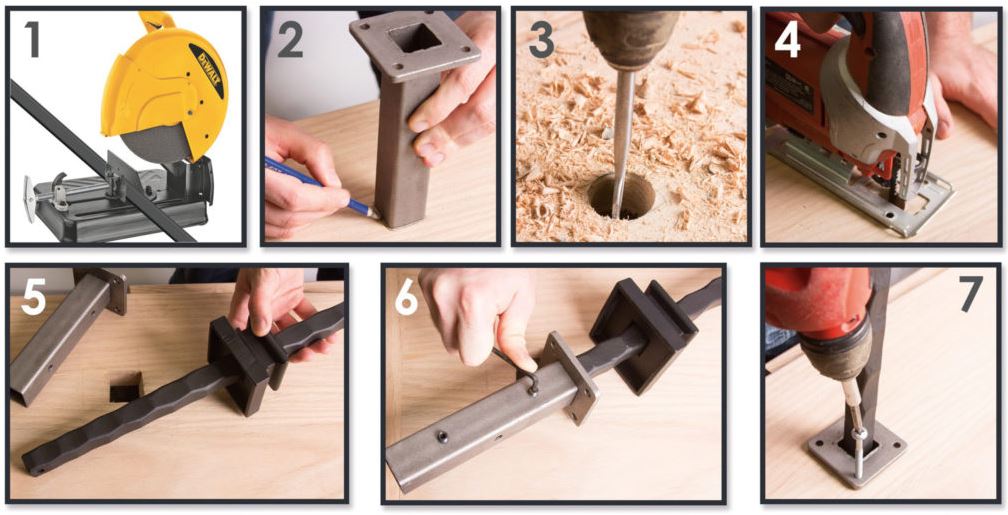
Trim the iron newel post to length.
1. Determine the newel length above the tread and add 6-1/4″ to the measurement for insertion into the newel mounting sleeve. Cut the newel from the bottom with a metal chop saw or portable band saw.
Prepare the Mounting Surface
2. Locate and mark where the newel will be mounted.
3. Using a paddle bit, drill a hole into the surface.
4. Use a jigsaw to cut out the square outline. Blocking material must be cut using a reciprocating saw, cut to depth to accommodate the full length of the newel sleeve.
Secure the iron newel post
5. Slide the iron newel collar onto the newel and slide the newel into the newel mounting sleeve.
6. Using an allen wrench, tighten the 3 set screws into the side holes of the sleeve.
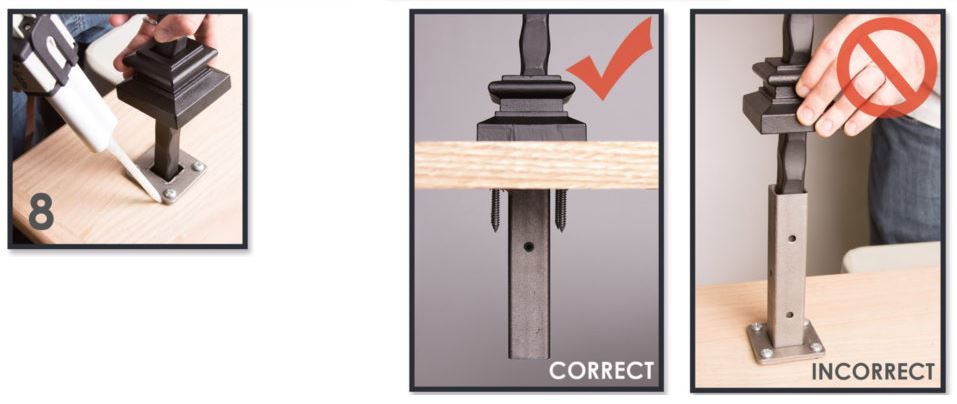
7. Slide the newel with attached sleeve into the hole and secure with the 4 anchoring screws to permanently attach the newel to the mounting surface.
8. Using our EPC-410 or EPC-7, two part epoxy, secure the newel collar to the mounting surface.
